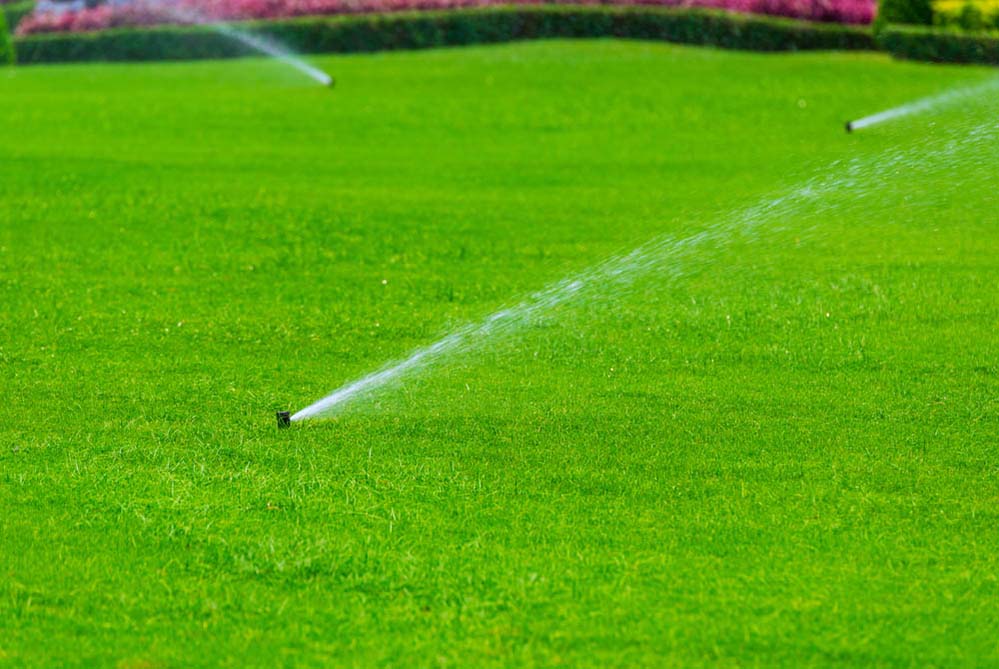
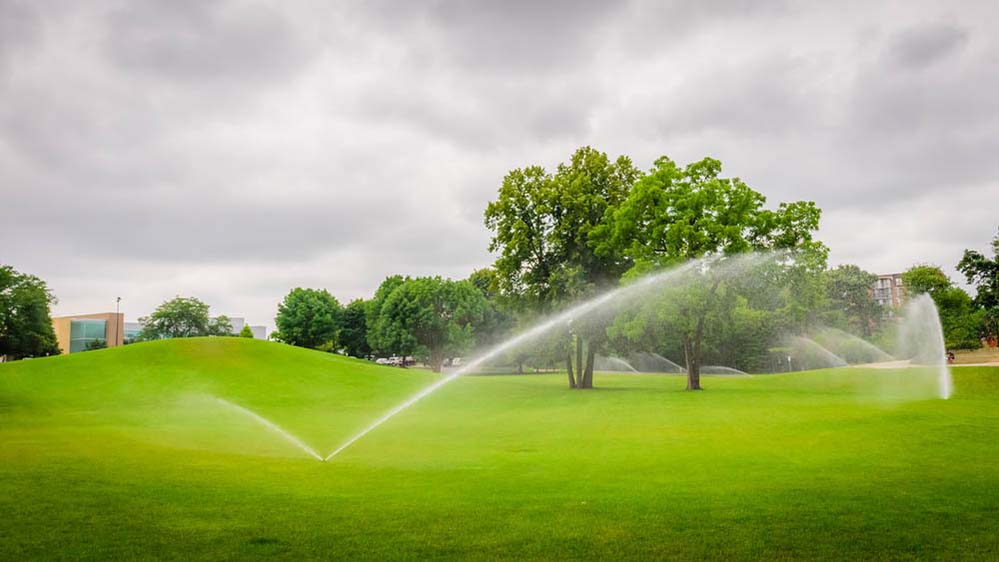
Time flies for us, and it’s now time to start running our sprinklers again to help keep our grass green. Nothing beats the ease of a well-designed system for our irrigation. Efficient watering of the lawn and garden will ensure the best results while saving money on utilities and making the best use of our water. In fact without a Water Sprinkler, we water our lawn by hand and in most instances over water and waste more money doing it that way.
Sprinkler Maintenance
When you have easy tips to help you maintain a greener landscape, it makes it that much effortless. For the upcoming watering season, sprinklers should be checked and adjusted annually, and timers and controllers should be checked and probably reset at least every couple of months, so you can make sure they work properly in each area. If you have a back-up battery on your controller, we recommend replacing it every 6 months.
It’s a great way to avoid waste by tuning your Water Sprinkler. Not only that, but careful attention and focus will allow you to tailor your watering schedule to the needs of your landscape. You want to ensure that water is distributed in a consistent manner to meet the needs of your plants and each soil type. Keeping an eye on how your system is doing will help keep healthy and beautiful in your lawn and landscape. For a number of reasons, it’s a good idea to stay on top of things, but one major one is that an unnoticed broken PVC pipe or fitting in your system can lead to significant waste.
Make sure the water from the head of one sprinkler hits the next sprinkler all the way (with a coverage overlap of 100 percent). This is called head-to-head reporting. Check to see if the pop-up sprinklers are straight up and down and leaning to one side as well as ensuring proper placement. By removing soil from one side and replacing it in the other, you can correct them. You want your sprinklers to be parallel to the ground as a general rule of thumb.
Sprinkler Checklist
Test the Soil–Before you do anything (like flush the sprinkler system), make sure the soil under the lawn is 12 inches deep clear of frost. By using a shovel, you can test that. You’ll have to wait when you figure out that the soil is still hard as a rock.
Test the system–Check your irrigation controller’s settings to make sure it is configured at the correct time and date, and schedule it according to the local weather and watering schedule. The settings should conform to your landscape’s watering needs. Keep your eye on the lawn as you change the settings.
Remove Obstructions–Remove the gravel, dust, water, and other forms of debris produced by flushing the device in the pipes during the fall and winter. Such obstructions can block even water flow to your sprinkler heads, causing uneven distribution. You can do this by removing the nozzles in each row from the last heads of the sprinkler. Then run the water to clear every line long enough to remove the nozzles. If your machine still suffers from clogging, by scrubbing and soaking them with a toothbrush, you can clean the nozzles, filters, and monitors and remove them when needed.
Wear and tear test–There are common minor issues that can be found in the maintenance of spring sprinklers, such as broken nozzles, cracked pipes, or broken controllers. Test these problems by running the system on a regular basis and paying attention to how it functions. To avoid disasters and a higher water bill, replace damaged components as needed. Waste can occur in a variety of forms. Watering places that should not be sprayed, such as sidewalks, driveways, parks, and stones are common problems and wasteful. For maximum efficiency, adjust your spray patterns.
Check the valves–By opening each sprinkler valve one at a time, turning the zones individually is a great way to solve problems. Search for leaks, falls, and puddles in one area. You’ll want to repair it as soon as possible if your valve leaks.
Opening the Street Valve–You must slowly open the main water valve to fill the pipes with water for the initial start-up of your process. This prevents surges of pressure that can burst fittings and heads as well as damage valves.
Check Water Pressure–The water pressure is another thing to consider when switching the main water valve back on. It is important to ensure that the water pressure is within a safe range of activity while being adequate to reach all your plants. Before it enters your crops, too much pressure causes sprinkler head leaks, broken valves, split tubes, and misting.
You will need a water pressure gage to calculate the water pressure. You may need a pressure regulator to can it for pressure above 40-65 PSI. If the pressure is too high, lower-precipitation nozzles can be mounted or the systems can be divided into smaller areas.
All these sprinkler maintenance tips should help keep your system running for years and years. Feel free to call a local sprinkler company like Tyler Sprinkler to check out your sprinkler system to be sure you aren’t missing anything.